It's Friday...
TGIF
today I share with you a technique that
The Thrifty Stamper showed us in this weeks tutorial...
She shows us how to take a laser printed image...
a copy of a photo, a cereal box, advertising junk mail...
something that the ink will not run when you put it into water...
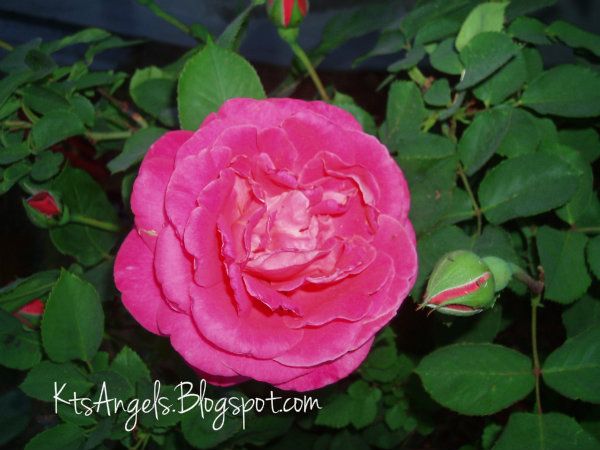
so I took this picture a few years back of a rose that was
in my front yard...
the colors are just so beautiful, I think anyway...
the camera really captured a beautiful rose
so now on to the tutorial part of this post...lol
after much trouble getting it to print laser, thanks to my dh...luv ya man...
I followed the tutorial,
you will have to read it to find out how I made it..
you can find it at Mark's Finest Papers Speedy TV online community...
so back to my card...
I used the
and stamped the background under the photo...
placed my new transparent photo over the stamped background.
I added some DCWV card stock, some ribbon from the stash...
oh and I used the butterfly from that same stamp set for an accent.
The sentiment is from the Autumn Friendships Mini Stamp Set
I got the stamp set in a card
swap at MFPSpeedTV swaps...for FREE...
way fun...lol come join the fun there too....
So now hop on over to MFPSpeedyTV
Sign up, if you haven't already...
Then find the Tutorial Time Challenges
Enter in Challenge # 32
And you could win this stamp set...FREE
All you need to do is link your card or project
using this technique
(IF you use a Marks Finest Papers a Heinrich stamp your project will count 2x's)
stamp an image
and LINK IT UP!!!
Easy Peasy...
Have fun with this tutorial,
I did...that's it for now...until next time...


Katie your card turned out beautifully!, I love how the rose looks with the technique :)
ReplyDeleteCool project, Katie. I also think your rose is very lovely. I love the smell of roses but doesn't everyone? :)
ReplyDeleteKatie,
ReplyDeleteVery pretty card and the technique turned out great for you.
Beautiful! I love how you used the crackled background stamp along with the packing tape transfer!
ReplyDeleteThis is one of the best examples I have seen with this technique, but you did start with a beautiful photo. Great end result.
ReplyDelete